
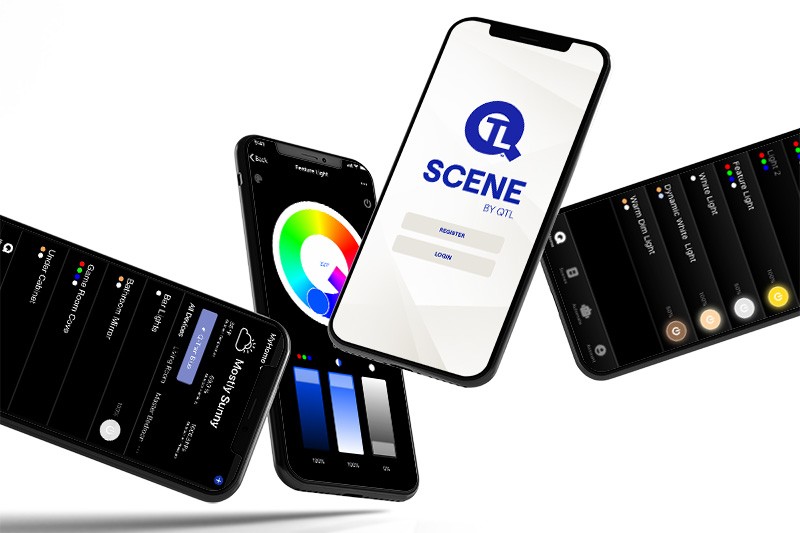
SCENE: QUICK START GUIDE
The possibilities of smart lighting are endless, but the setup — with Bluetooth or Wi-Fi — is simple. Find out how SCENE works and how to get started in automating LED lights within your desired space.
SCENE is easy to install and only takes minutes. Download the SCENE app from the Apple App store or Google Play Store onto your device. Depending on your dongle type (refer to the label on your dongle to determine if connection is via Bluetooth or Wi-Fi), make sure your device is connected to either your Wi-Fi network or has Bluetooth enabled before getting started.
GETTING STARTED
STEP 1
Open the app. Click on "Register" to create a new account using your email address. Accept Wi-Fi and Bluetooth permissions. Enable location services for accurate weather information.
STEP 2
Verify your new account using the six digit verification code sent to you via email, and create a password. Passwords must be 6-20 characters, including letters and digits.
COMPONENT ASSEMBLY
Be sure to have all your components readily available. Components needed include: Dongle(s), LED Fixture(s), Power Supply, and SCENE App.
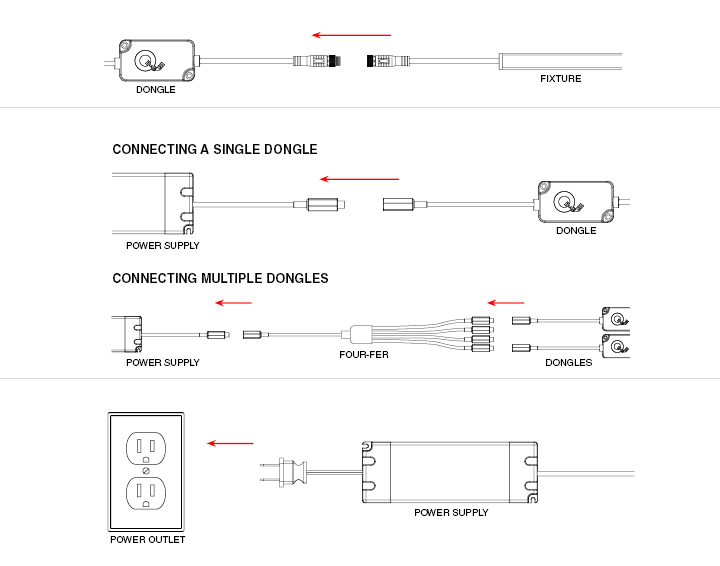
STEP 1
Connect the LED fixture to the dongle(s).
STEP 2
Connect the dongle(s) to the power supply.
STEP 3
Plug in power supply to a power outlet - do not dim power supply.
CONNECTIVITY MODE SETUP
After you components are assembled, follow the last steps below to complete the initial setup of your automated lighting.
STEP 1
Hold down the "Q" button on the dongle to enter connection mode. Your fixture will begin flashing. Add your lighting fixture by clicking "+Add Device" or by clicking the "+" in the top right corner of the home screen. Repeat this step if you are using multiple dongles and led fixtures. As long as your fixture is flashing, it should be discovered by the app automatically.
If not discovered, you can manually add your products by selecting the "Add Manually" screen located on the top banner of the app:
-
If connecting a Bluetooth dongle, your fixture will now connect to the app. This may take up to one minute. The range of the Bluetooth connection is approximately 30 feet.
-
If connecting a Wi-Fi dongle, select your Wi-Fi network, enter your Wi-Fi password and click "Next". Your fixture will now connect
STEP 2
Name and assign your fixture to a room and click "Done". Fixtures can also be assigned to a room from the light settings screen. Additionally, the room can be set within each light by pressing the three dots located at the top right corner of the app.
STEP 3
Your fixture is now connected and can be found on the home screen app. You can now control your lighting fixtures from the home screen. Note: Repeat steps 1-3 if you are using multiple dongles in your component assembly.
Press the device name to access controls and settings or press the power button on the right to turn fixtures on or off.
TEST LED LIGHTING CONTROLS
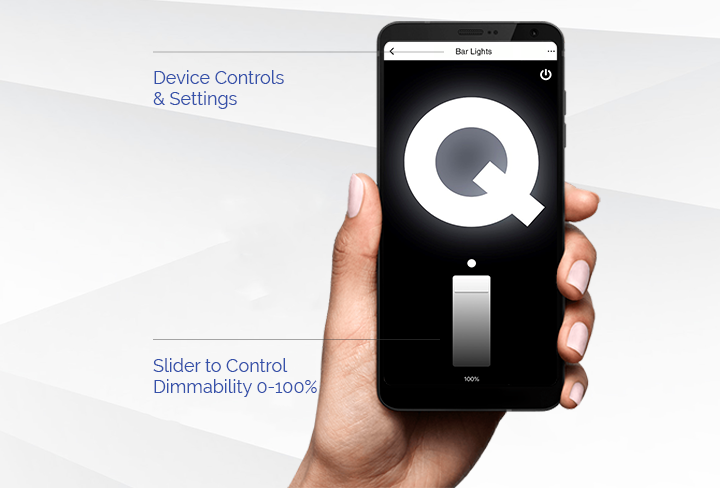
Press the device name to access controls and settings. The Static White control screen can be seen here; use the slider at the bottom of the screen to control the dimmability of the fixture down 100%. You can also turn the fixture on and off by pressing the "Q" on the SCENE app.
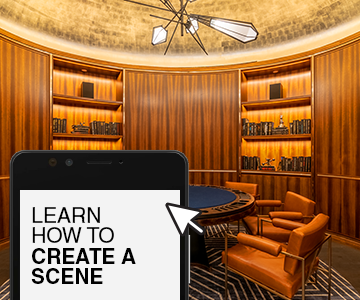
PERSONALIZE YOUR SMART LED LIGHTING
For technical support, call (203) 367-8777 and select option #4 or email sales@q-tran.com.

